Trending

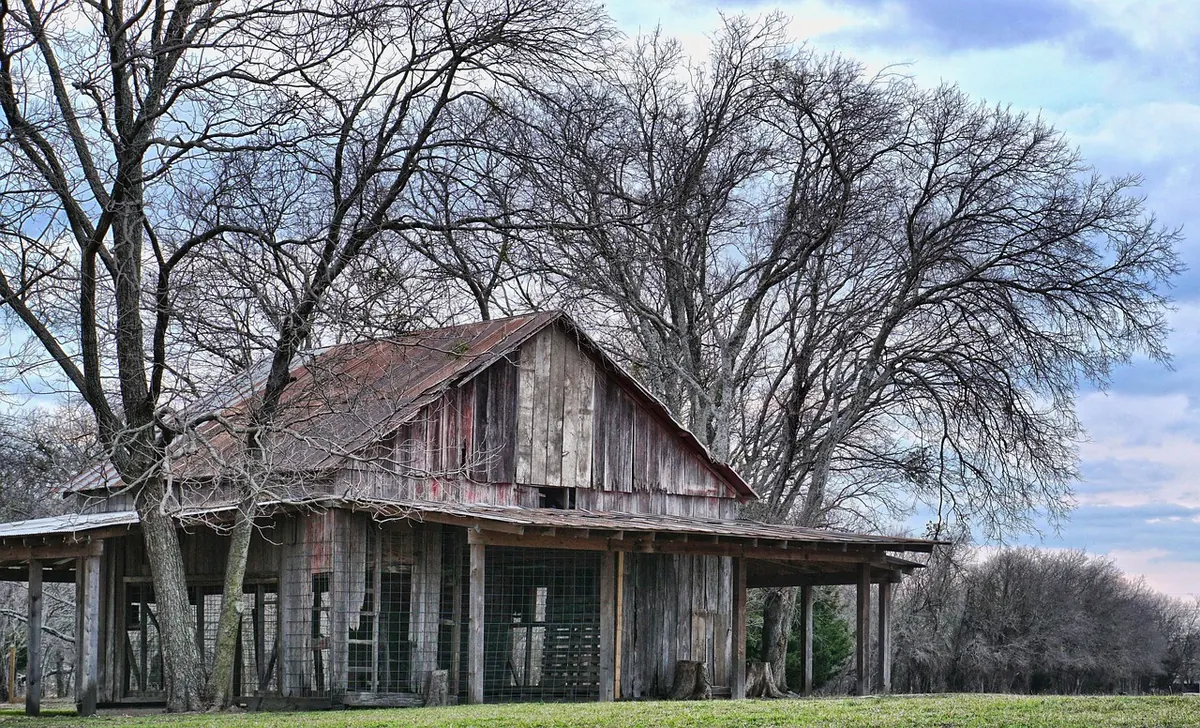
A barn conversion lives or dies by its materials. New brick and machine-sawn timber can look apologetic against walls that have stood for two centuries, while a floor of worn flags or a beam full of old nail holes settles in as though it had always been there. The encouraging part is that the right material is usually closer than you think — in a farmyard, a salvage yard or a demolition site ten miles down the road. Finding it takes patience, some local knowledge and a willingness to knock on doors.
Your barn is the best specification document you will ever get. Before you start ringing reclamation yards, spend an afternoon working out what you are actually standing in.
Measure a dozen bricks across different courses and average them; old bricks rarely match a modern metric size, and a wall half-built from the wrong size will fight you all the way up. Look at the mortar. If it is soft, sandy and pale, it is lime, and that tells you to avoid hard cement repairs. Identify the timber — oak, elm and pine all behave differently and take finishes differently. If there is stone, chip off a small sample and take it to a local mason or quarry; they will usually tell you in thirty seconds what took you a week to guess.
Then write a list. Not a mood board — a list with quantities, sizes and priorities. Beams first, then lintels, then floorboards, then bricks for patching. Knowing what you need stops you buying a trailer load of beautiful nonsense because it was cheap that weekend.
Most good material never reaches a shop. It moves between builders, farmers and yards by word of mouth, which is exactly why you need to be in the conversation.
Reclaimed timber is either wonderful or firewood, and the difference is not always obvious under a layer of dust. Turn every beam over. Look at the ends, where rot and beetle damage show first.
One firm rule: never put reclaimed timber into a load-bearing position on your own judgement. Get a structural engineer to look at it. Older timber is often stronger than its appearance suggests, but grading is a professional job, and building control will want evidence.
Colour is easy to fake and easy to fall for. What matters is whether the brick will survive outside. Check the corners and faces for spalling — flaking, crumbling surfaces caused by frost and salt. A few chipped corners are fine for internal work; a crate of frost-damaged bricks will disintegrate in a west-facing wall within a few winters.
Stone is a slower decision. Sedimentary stone such as limestone can be laid in the wrong direction and wear away in sheets, so keep it the same way up as it was originally bedded. Sandstone varies enormously between quarries, even a few miles apart, and a mismatched patch will announce itself forever.
Match the mortar to the brick, not the brick to the mortar.
Hard cement mortar around soft old bricks traps moisture and forces it out through the brick face. Lime mortar, mixed to suit what is already there, bends and breathes with the wall. Ask a conservation-aware builder or lime specialist for a mix recommendation rather than guessing.
If the barn is listed, or sits in a conservation area, any change to external materials usually needs consent. Talk to your local authority conservation officer early; they are far more helpful when you arrive with samples and a plan than when you arrive with a finished wall.
There are also practical duties to plan for. Demolition material is waste until you take ownership of it properly, and moving it around can require waste transfer documentation. Old buildings hide asbestos cement sheets, lead paint and worse, so if anything looks suspicious, stop and call a licensed specialist. For anything structural, listed or contaminated, take professional advice from a structural engineer, conservation officer or licensed contractor before you spend money.
Reclaimed material accumulates slowly and then all at once. A conversion often runs a year or more, so begin gathering as soon as you own the building. Give yard owners and demolition firms a written list with sizes and quantities, be ready to collect at short notice with a trailer, and pay a fair price — the people who supply good salvaged material remember who treated them well. Buy only what you have a use for, store it properly, and by the time the roof goes on you will have a building that looks like it was never converted at all.
Photo: vrkolli / Pixabay