Trending

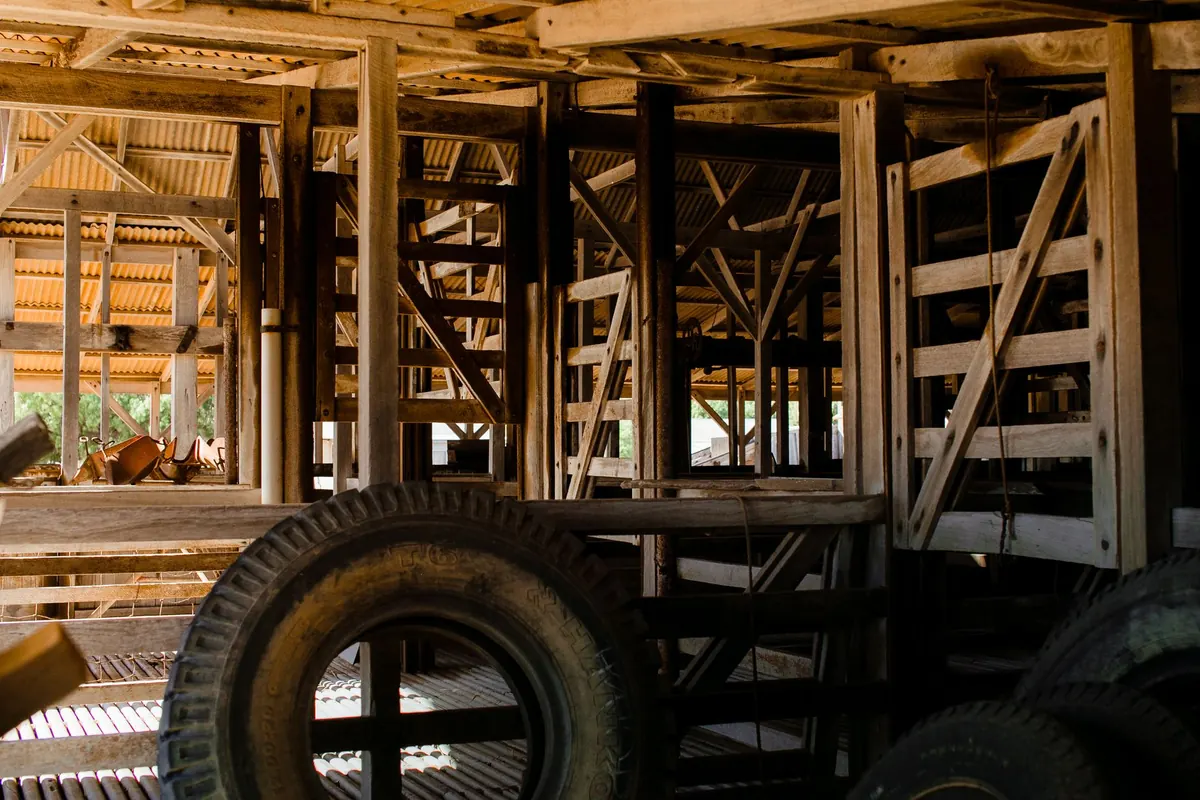
A timber-frame barn does something few modern houses manage: it makes you look up. Then you sit in the corner to read and realise the drama comes with a price. Heavy oak posts, deep window reveals, black-painted roof linings and blank walls on two elevations all swallow light. Most dark barns are not short of light fittings. They are short of a plan. What follows is a room-by-room way of getting daylight and artificial light to work together under a timber frame.
Before buying a single pendant, spend a full day watching how light moves through the building. Barns are long and narrow, and glazing is often concentrated on one elevation, so the pattern is predictable: bright at the gable end, grey in the middle, black in the lean-to extension. Walk through at 8am, noon and 4pm with a notebook.
The cheapest wins are here, not in the lighting aisle. A north-facing rooflight gives soft, even light without glare and rarely needs a blind. Sun tunnels suit corridors and internal bathrooms where a full rooflight will not fit. Pale limewash on plaster, a lighter floor finish or a large mirror opposite a window will lift a whole room before you spend anything on electricity. If the building is listed or sits in a conservation area, check with your local planning authority before altering openings or adding external fittings.
A barn living room usually has one very tall wall and one very low one, and a single central pendant makes the tall part feel cavernous and the low part feel ignored. Build three layers instead.
First, ambient light: wall-washers or small uplights positioned to graze the stone or brick, roughly 300mm out from the wall, so the texture reads rather than flattens. Second, task light: a floor lamp beside the reading chair, a table lamp on the side table, a pendant low over the dining table. Third, accent light: a picture light, a shelf light, or an LED strip tucked into a beam recess.
Resist the urge to uplight every beam. Cross-lighting a truss turns it into a black silhouette, which is striking once and irritating nightly. Light two or three bays and leave the rest in shadow. Keep the whole scheme at one warm colour temperature, around 2700K, and put it on dimmers so a winter evening can be cosy rather than operating-theatre bright.
In a converted barn, the kitchen is often the darkest room because it sits in the middle of the plan with the fewest windows. Two mistakes are common: downlights placed directly above the person chopping, and too few of them spaced too far apart.
Set recessed spots forward of the worktop edge so your hands and body do not cast a shadow over the board. Space them fairly evenly, and use a narrow beam for task areas and a wider one for circulation. Under-cabinet strip lighting is where the real improvement lives: it lights the surface you actually use and makes a dark wall of units recede.
Over an island, hang pendants so the bottom sits roughly 750–800mm above the worktop, high enough to see over but low enough to light the surface. Light the pantry, the utility sink and the boot-room bench properly; these small rooms are usually treated as an afterthought and end up being the ones you curse.
In a barn, the ceiling above a mezzanine is often the floor of another room, which means recessed downlights are impossible or awkward. Use the structure instead. Wall sconces either side of the bed, a picture light, a low floor-level glow along the walkway and a dimmable lamp on a chest of drawers will do more than a ceiling light ever could.
Fit switches at both ends of the staircase and both sides of the bed. Steep open-tread stairs in a dark timber frame are the last place you want to be feeling for a pull cord at two in the morning.
Long internal corridors and windowless bathrooms are the two dark zones in almost every conversion. Where you cannot add a window, borrow light: glazed internal doors, a glazed panel above a doorway, or an open half-landing can pull daylight deep into the plan.
In the bathroom, light the face rather than the room. A fitting above a mirror throws shadows down your cheeks; a light either side of the mirror, or a strip across the top of the glass angled forward, is far kinder. Keep fittings to the correct IP rating for their zone, and make sure the extractor runs long enough after a shower or the mirrors will steam up and undo the work.
For stairs and landings, a low-level light at floor height gives safe guidance without waking the house. Keep a torch or a battery-backed night light in the hallway for power cuts, which rural conversions tend to get rather more of than town houses.
This is the stage worth slowing down for, because it is the one you cannot easily redo once the plaster is back.
One more detail: black-painted ceilings and dark beams absorb light, so budget for slightly more fittings in those areas, or consider painting the underside of the roof lining a soft off-white and leaving the structural timbers dark. The contrast does most of the work for you.
Live with the building for a week before you commit. Note the hours each room feels gloomy, then fix daylight first with mirrors, pale finishes and a rooflight or sun tunnel if the structure allows. Plan the circuits second. Buy the fittings last, when you know exactly what each one has to do.
That order keeps you from doing what most barn owners do: buying a beautiful pendant for the wrong wall, then spending two years trying to light around it.
Photo: Rachel Claire / Pexels